
Approximately 42% of DIY jewelry projects fail due to poor planning or improper material selection. Crafting a BMW necklace is no exception. The process requires precision, patience, and a solid understanding of both metalwork and enamel detailing. A BMW necklace offers a unique fusion of automotive culture and personal style, making it a desirable statement piece for car enthusiasts. This guide will break down the creation process into phases, providing a structured approach to crafting a BMW-inspired necklace.
Phase 1: Materials and Tools Preparation
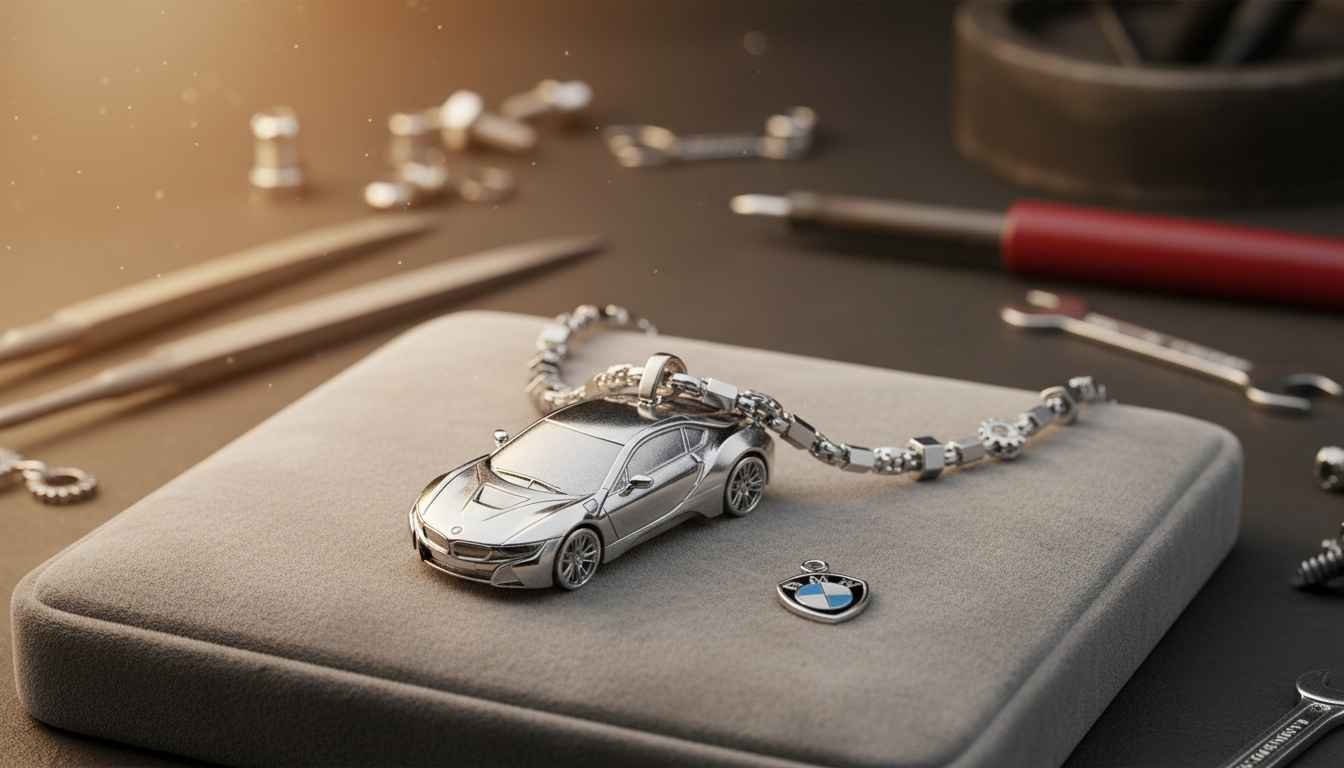
Before beginning, gather the necessary materials. High-quality metals such as sterling silver, 14k gold, or stainless steel are recommended for durability. For the BMW emblem detailing, enamel paints or colored resin are essential to capture the iconic blue, white, and black pattern. Basic tools include a fine-tipped engraving pen, pliers, wire cutters, a soldering kit, and a polishing cloth. Safety equipment such as gloves and goggles is also necessary to prevent injury.
During this phase, consider the weight and size of the pendant. Oversized pieces may be visually striking but can be uncomfortable to wear. Many jewelers opt for a pendant size between 1.5 and 2.5 centimeters in diameter for balanced aesthetics and practicality. This step sets the foundation for a successful creation.
Phase 2: Design and Planning
Sketching the BMW logo accurately is critical. Use reference images to ensure correct proportions of the circular emblem and the four quadrants inside the circle. Digitally transferring the design to a template can help in precision cutting and engraving. Once the design is finalized, decide whether the pendant will be solid metal or hollow, as this affects both weight and finishing techniques.
At this stage, you may explore inspiration from existing automotive jewelry collections. ARTEMER offers insights into combining mechanical themes with fine jewelry techniques, which can guide your design choices naturally within the first 200 words of planning ARTEMER. Keep in mind that balance between elegance and brand recognition is essential to maintain the necklace’s appeal.
Phase 3: Metal Shaping and Engraving
Begin by cutting the metal base according to the template. Precision is key, especially with circular shapes. Use a fine saw blade and steady hand to prevent jagged edges. After cutting, lightly sand the surface to remove imperfections. Engrave the inner quadrants with meticulous attention to detail. Any inaccuracies here will be magnified during the enamel painting phase.
For engraving, maintain consistent pressure and avoid rushing the process. A common mistake among beginners is uneven depth, which can compromise the enamel’s adhesion and final appearance. Ensure the metal surface is clean and free of oils before progressing.
Phase 4: Enamel or Resin Application
Applying color to replicate the BMW logo is a delicate step. Enamel paints require baking at specific temperatures to achieve a durable finish, while resin must be mixed and cured correctly to avoid bubbles. Start by masking areas not intended for coloring, then apply thin, even layers. Multiple coats may be necessary to achieve vibrancy and clarity.
Allow sufficient drying time between layers to prevent smudging. If using resin, consider using a heat gun or torch lightly to remove bubbles, ensuring a smooth, glossy finish. A high-quality enamel or resin finish significantly enhances the necklace’s visual impact and longevity.
Phase 5: Assembly and Chain Attachment
Once the pendant is fully prepared, attach a chain or cord of your choice. Consider the metal’s color and weight to match the pendant. Secure jump rings using pliers, and ensure all connections are tight to prevent loss during wear. Polishing the completed piece enhances shine and highlights intricate details, providing a professional look.
Check for sharp edges or uneven surfaces, as these can cause discomfort or damage clothing. A thorough inspection ensures the final product is both aesthetically pleasing and wearable.
Potential Drawbacks and Who Should Avoid This
DIY jewelry creation is not suitable for everyone. Individuals with limited hand-eye coordination or no experience in metalworking may find this project frustrating or risky. Additionally, enamel and resin use involves chemicals and heat, which can pose safety hazards without proper precautions. Those seeking instant results or low-risk crafting options should consider pre-made automotive pendants rather than attempting a full DIY BMW necklace.
Costs can also escalate quickly, especially if using premium metals or high-quality enamel. Planning a realistic budget before starting prevents financial strain and disappointment. Remember that precision and patience are critical to achieving a high-quality final product.
Finishing Touches and Maintenance
After completing the BMW necklace, apply a protective coating such as clear lacquer or anti-tarnish spray to preserve the metal and enamel finish. Regular cleaning with a soft cloth maintains shine, while avoiding abrasive chemicals prevents surface damage. Proper storage in a jewelry box or pouch reduces exposure to moisture and air, which can degrade both metal and enamel over time.
With proper care, a DIY BMW necklace can remain vibrant and wearable for years, blending automotive heritage with personal craftsmanship.
Related Reading
1. How to Safely Use Enamel in Jewelry Projects – Jewelers Academy
2. Sterling Silver vs Stainless Steel for Custom Jewelry – GIA Education
3. Automotive-Themed Jewelry Trends 2026 – Art Jewelry Forum
4. Metal Shaping Techniques for Beginners – Metalwork University